The first time I made bao at home, my kitchen looked like a flour bomb had gone off. White powder coated the counter, the handle of the refrigerator, even the cat who had wandered in to investigate. The buns themselves came out dense and flat, more like dinner rolls that had been sat on than the pillowy white pockets I remembered from Sunday mornings at my grandmother's apartment in Busan. She made them look effortless, pinching and pleating each bun with her thumb and forefinger while the bamboo steamer rattled on the stove. It took me four more weekends of failed attempts before I produced anything close to what she turned out without measuring a single ingredient. She would have laughed at my notebook full of gram measurements and temperature logs.
The dough is simpler than you would expect, and that is part of what makes a bad batch so frustrating. Bread flour, instant yeast, a tablespoon of sugar, half a teaspoon of salt, a quarter cup of warm milk, and enough water to bring it together into a soft but not sticky ball. The trick is the fat. My grandmother used a spoonful of lard, which gives the dough a slight sheen and a tenderness that vegetable oil cannot quite match. If lard puts you off, softened butter works fine, though the buns will be marginally less silky. Knead the dough for about eight minutes on a lightly floured surface until it feels smooth and springs back when you press a finger into it. Then let it rise in a warm spot, covered with a damp towel, until doubled in size. In my kitchen that takes about an hour. In my grandmother's kitchen, with the ondol floor heating, it took forty minutes.
While the dough rests, make the filling. I braise the pork belly the day before because it needs time to get tender without falling apart into shreds. Cut a pound of skin-on pork belly into two-inch chunks and sear them in a hot wok until the fat renders and the surfaces turn a deep golden brown. Then add half a cup of soy sauce, a quarter cup of Shaoxing wine, three tablespoons of dark brown sugar, two whole star anise, a stick of cinnamon, four crushed garlic cloves, and a thumb-sized piece of ginger sliced into coins. Add just enough water to cover the meat, bring it to a boil, then drop the heat to low and simmer partially covered for about two hours. The pork should be fork-tender but still holding its shape. Pull the chunks from the liquid and let them cool on a plate. Shred the meat coarsely with two forks, then toss it with three tablespoons of hoisin sauce and a pinch of five-spice powder. The hoisin adds sweetness and a glossy coating that keeps the filling moist inside the bun.
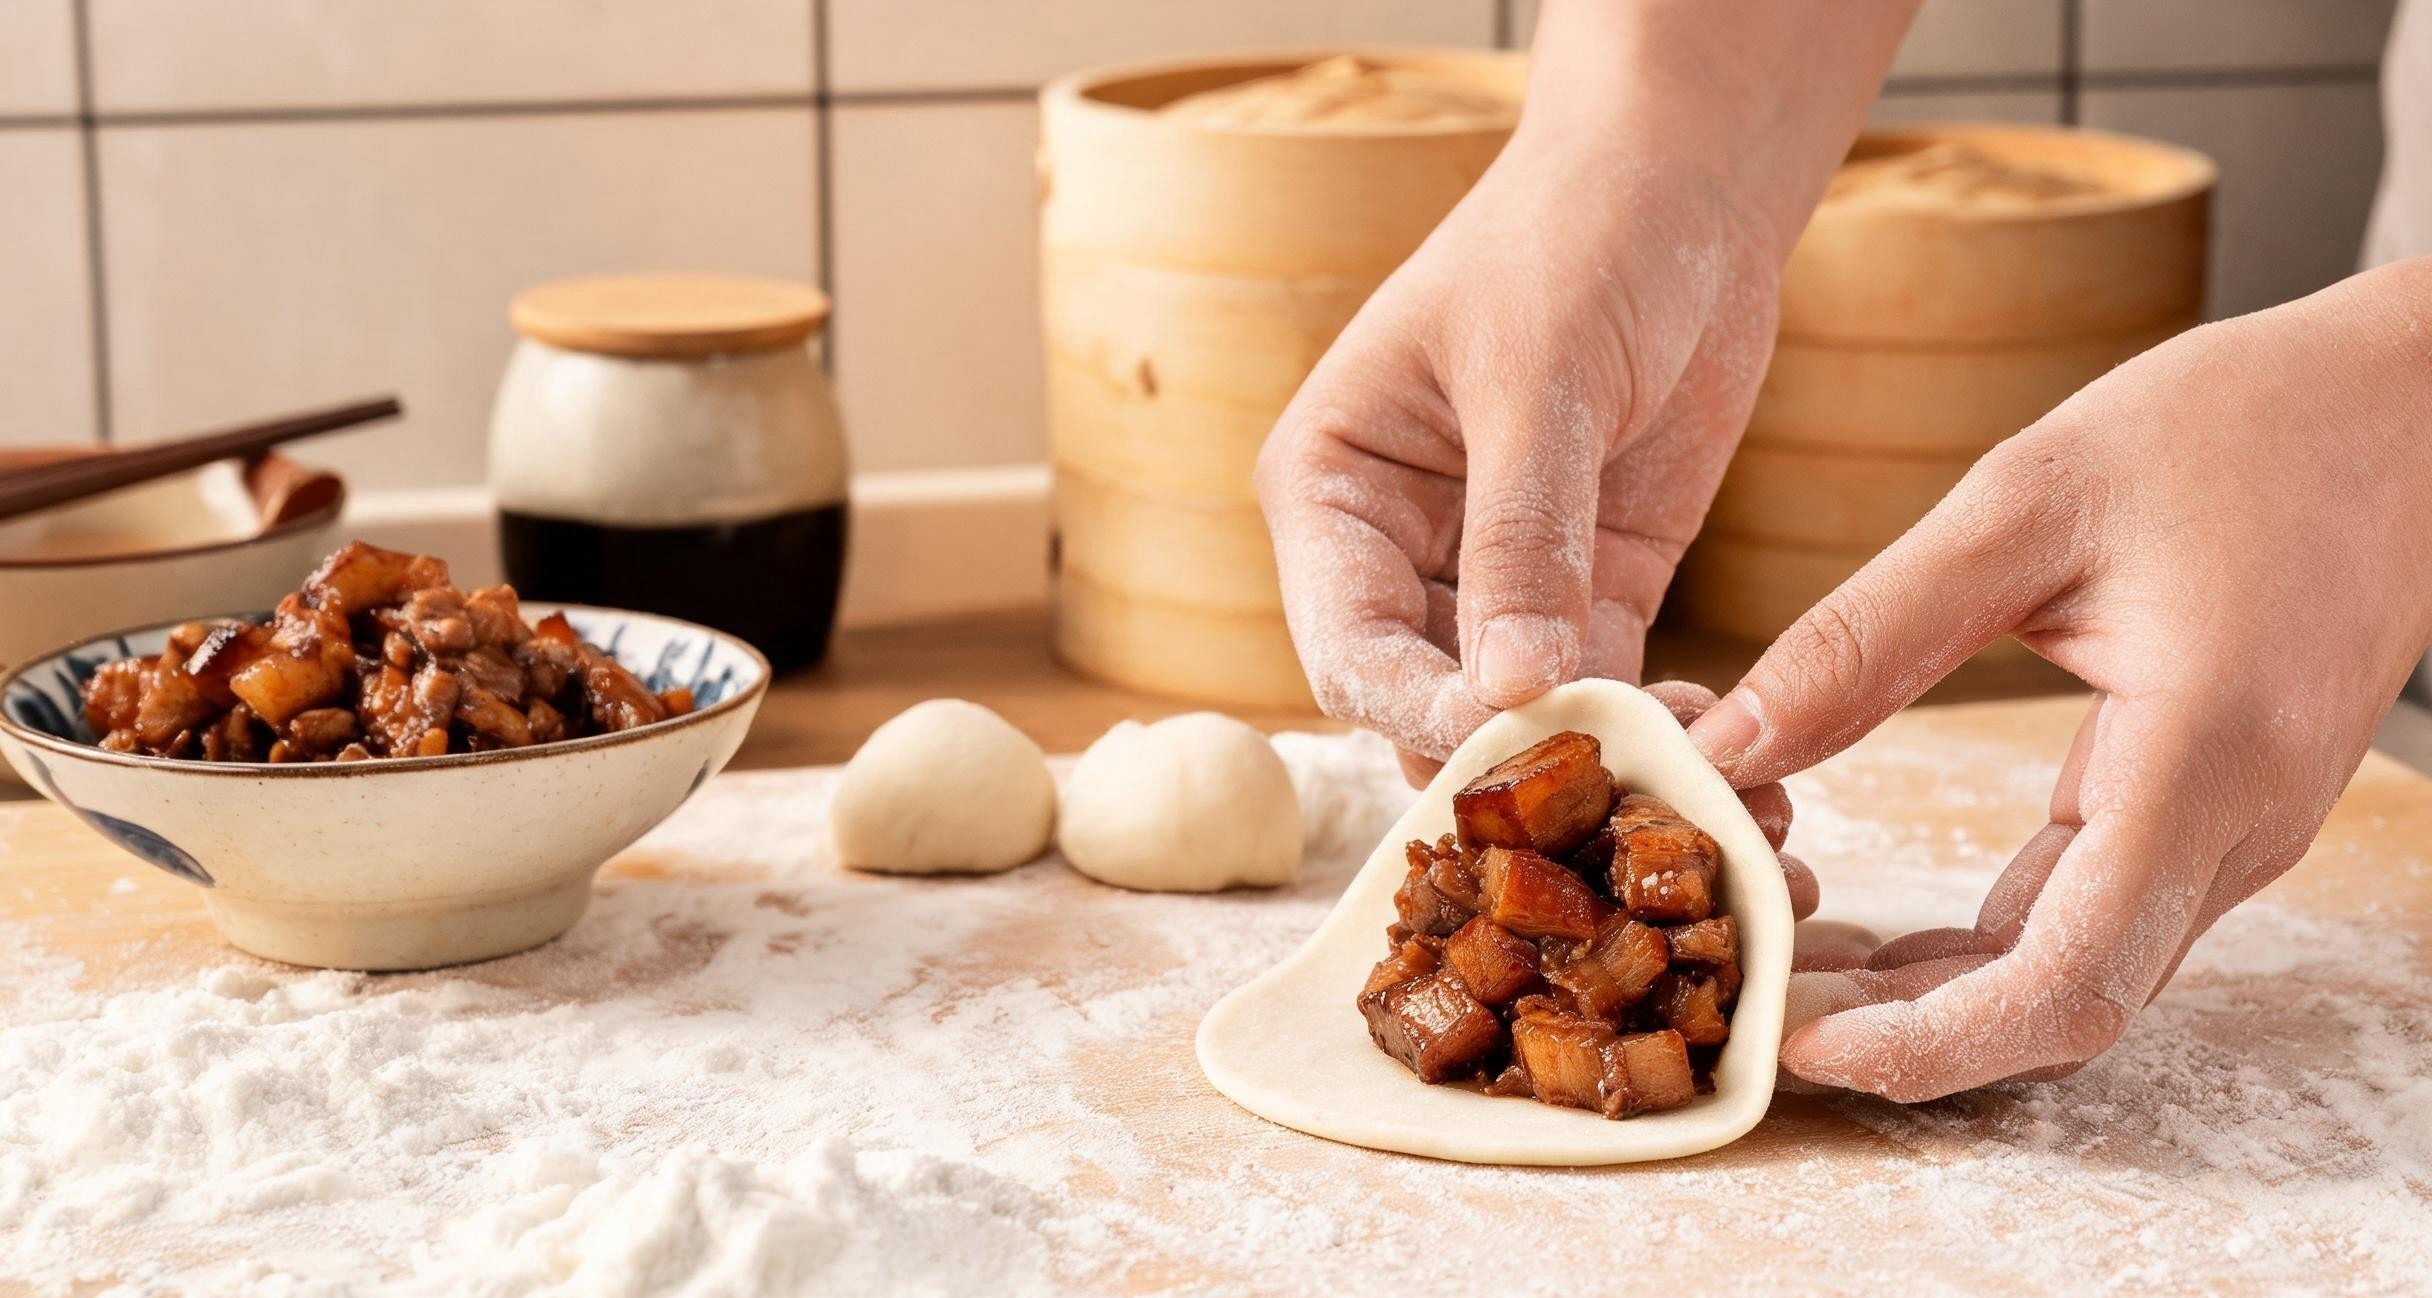
Once the dough has risen, punch it down and divide it into twelve equal pieces. Roll each piece into a smooth ball, then flatten it with the palm of your hand. Use a rolling pin to create a disc that is thicker in the center and thinner at the edges, about four inches across. This matters because the thicker center holds the filling without tearing and the thinner edges pleat together cleanly. Place a generous tablespoon of the pork mixture in the center of each disc. Gather the edges around the filling, pinching them together, and give the top a gentle twist to seal. Place each bun seam-side down on a small square of parchment paper. Cover them with the damp towel again and let them proof for twenty minutes. They will puff up slightly, and if you poke one gently with your finger, the indentation should spring back slowly.
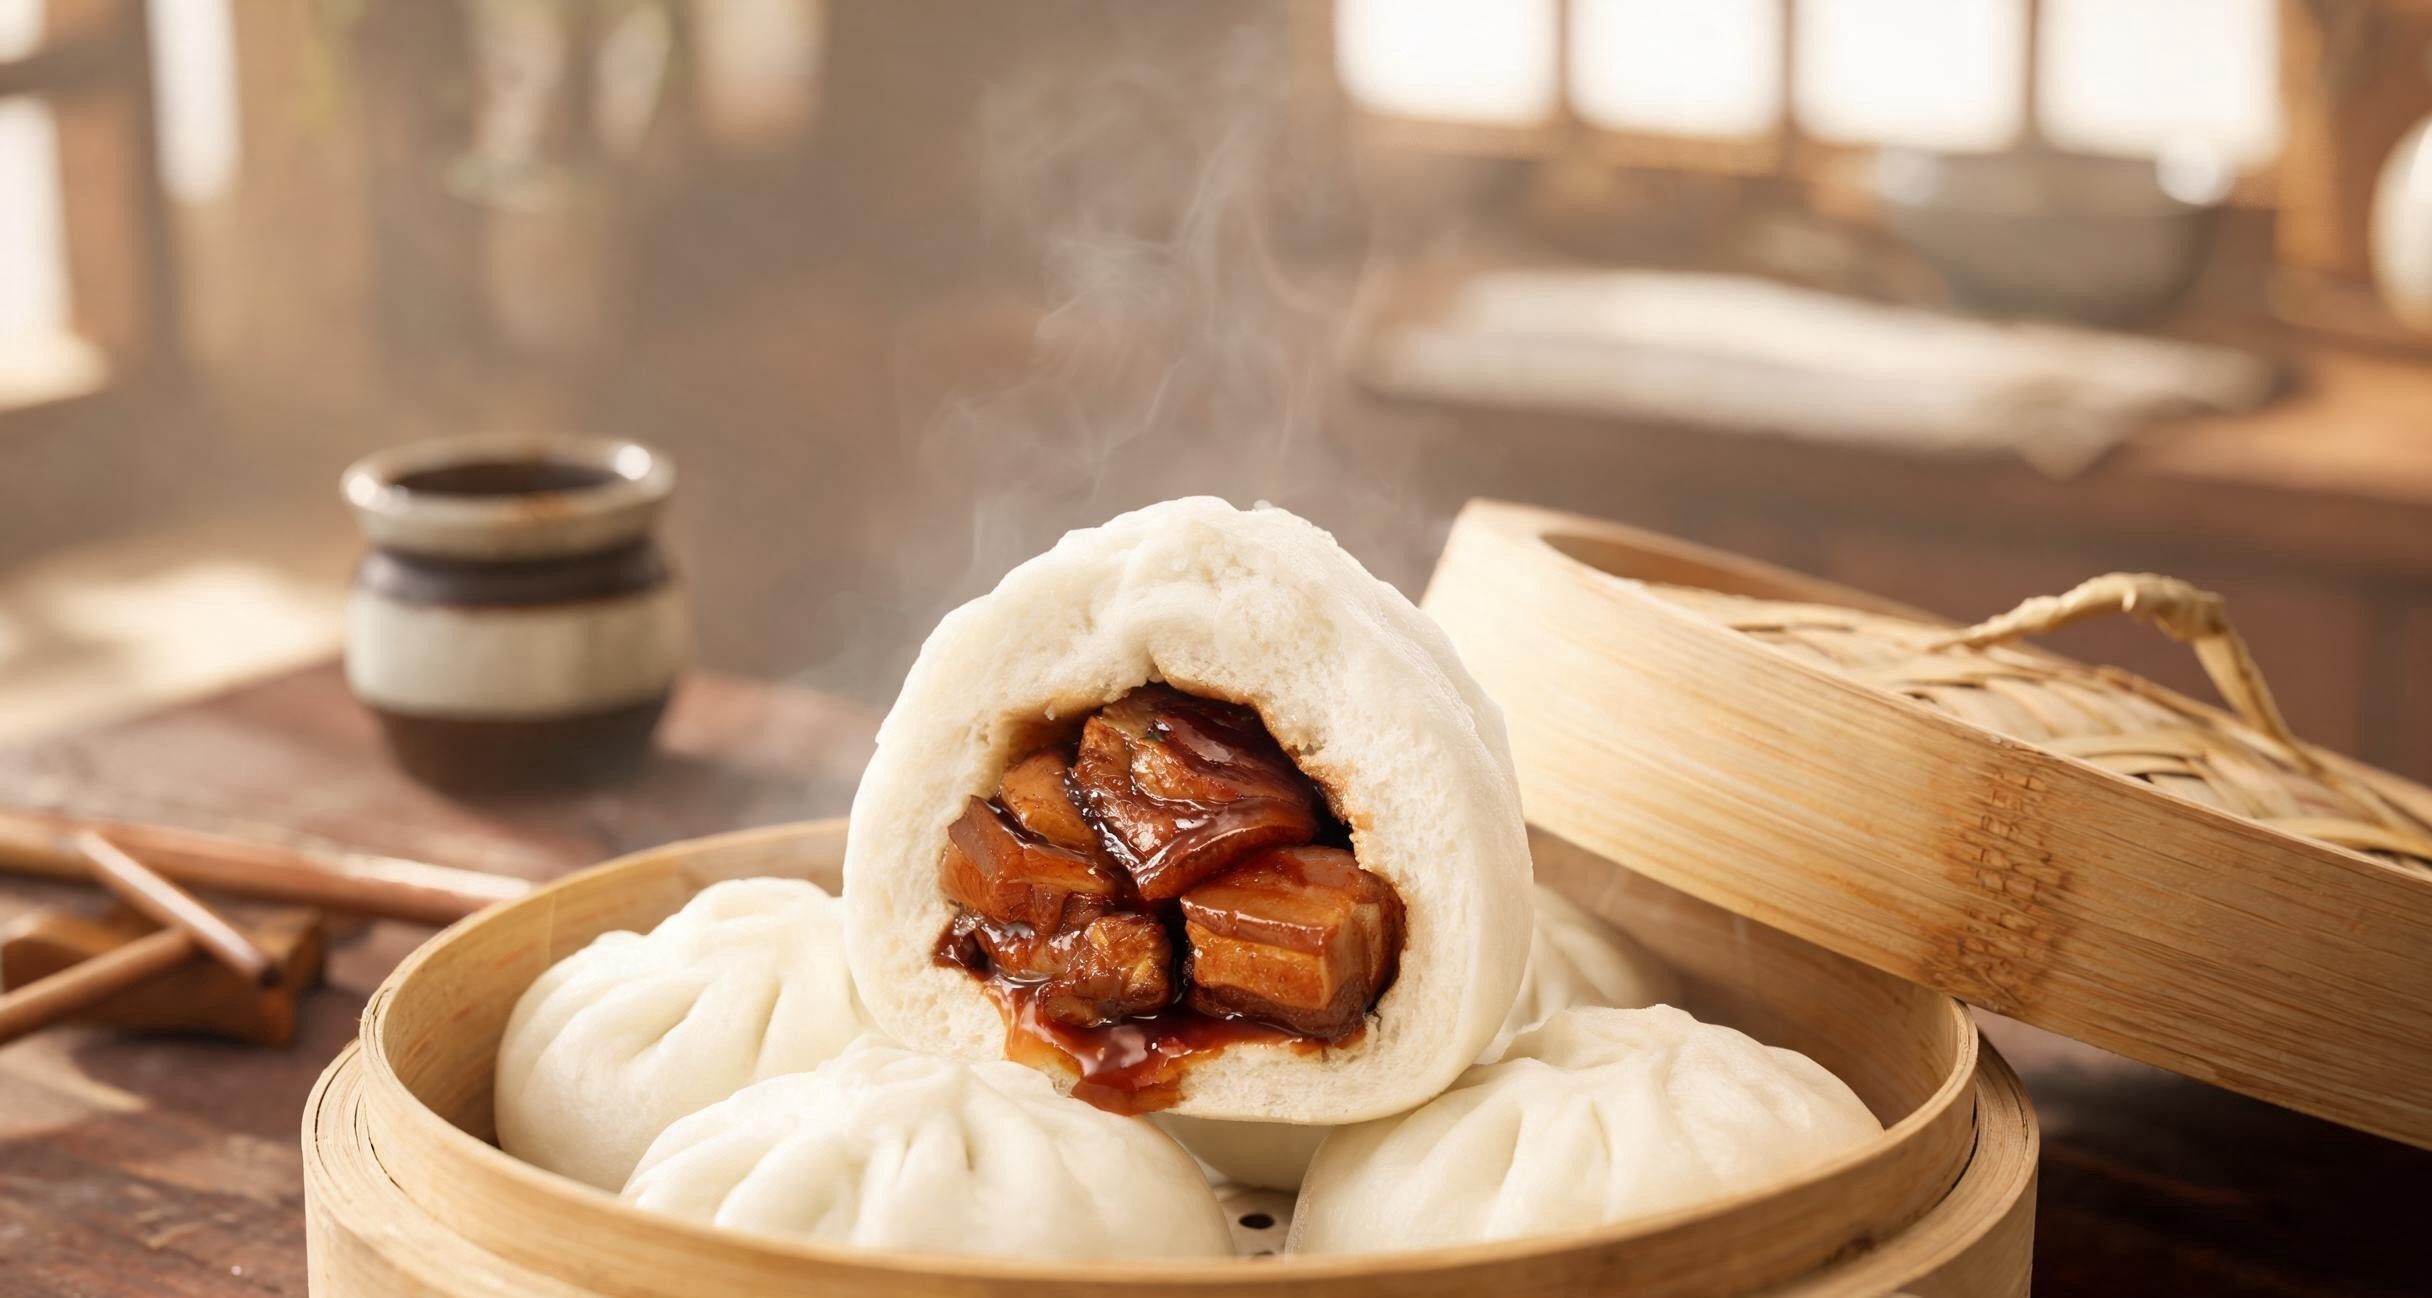
Steam the buns in batches using a bamboo steamer set over a wok with about two inches of simmering water. Each batch takes roughly twelve minutes. Do not lift the lid during the first ten minutes because the sudden temperature drop can collapse the buns before they set. When they are done, the skins should be white, smooth, and slightly glossy. Tear one open and the interior should be soft and slightly fluffy, with the pork belly shiny from the hoisin glaze. I serve them with sliced cucumber, quick-pickled mustard greens, and a drizzle of sriracha on the side. A full batch of twelve disappears at my table in about fifteen minutes, which is why I have started making a double batch every time.
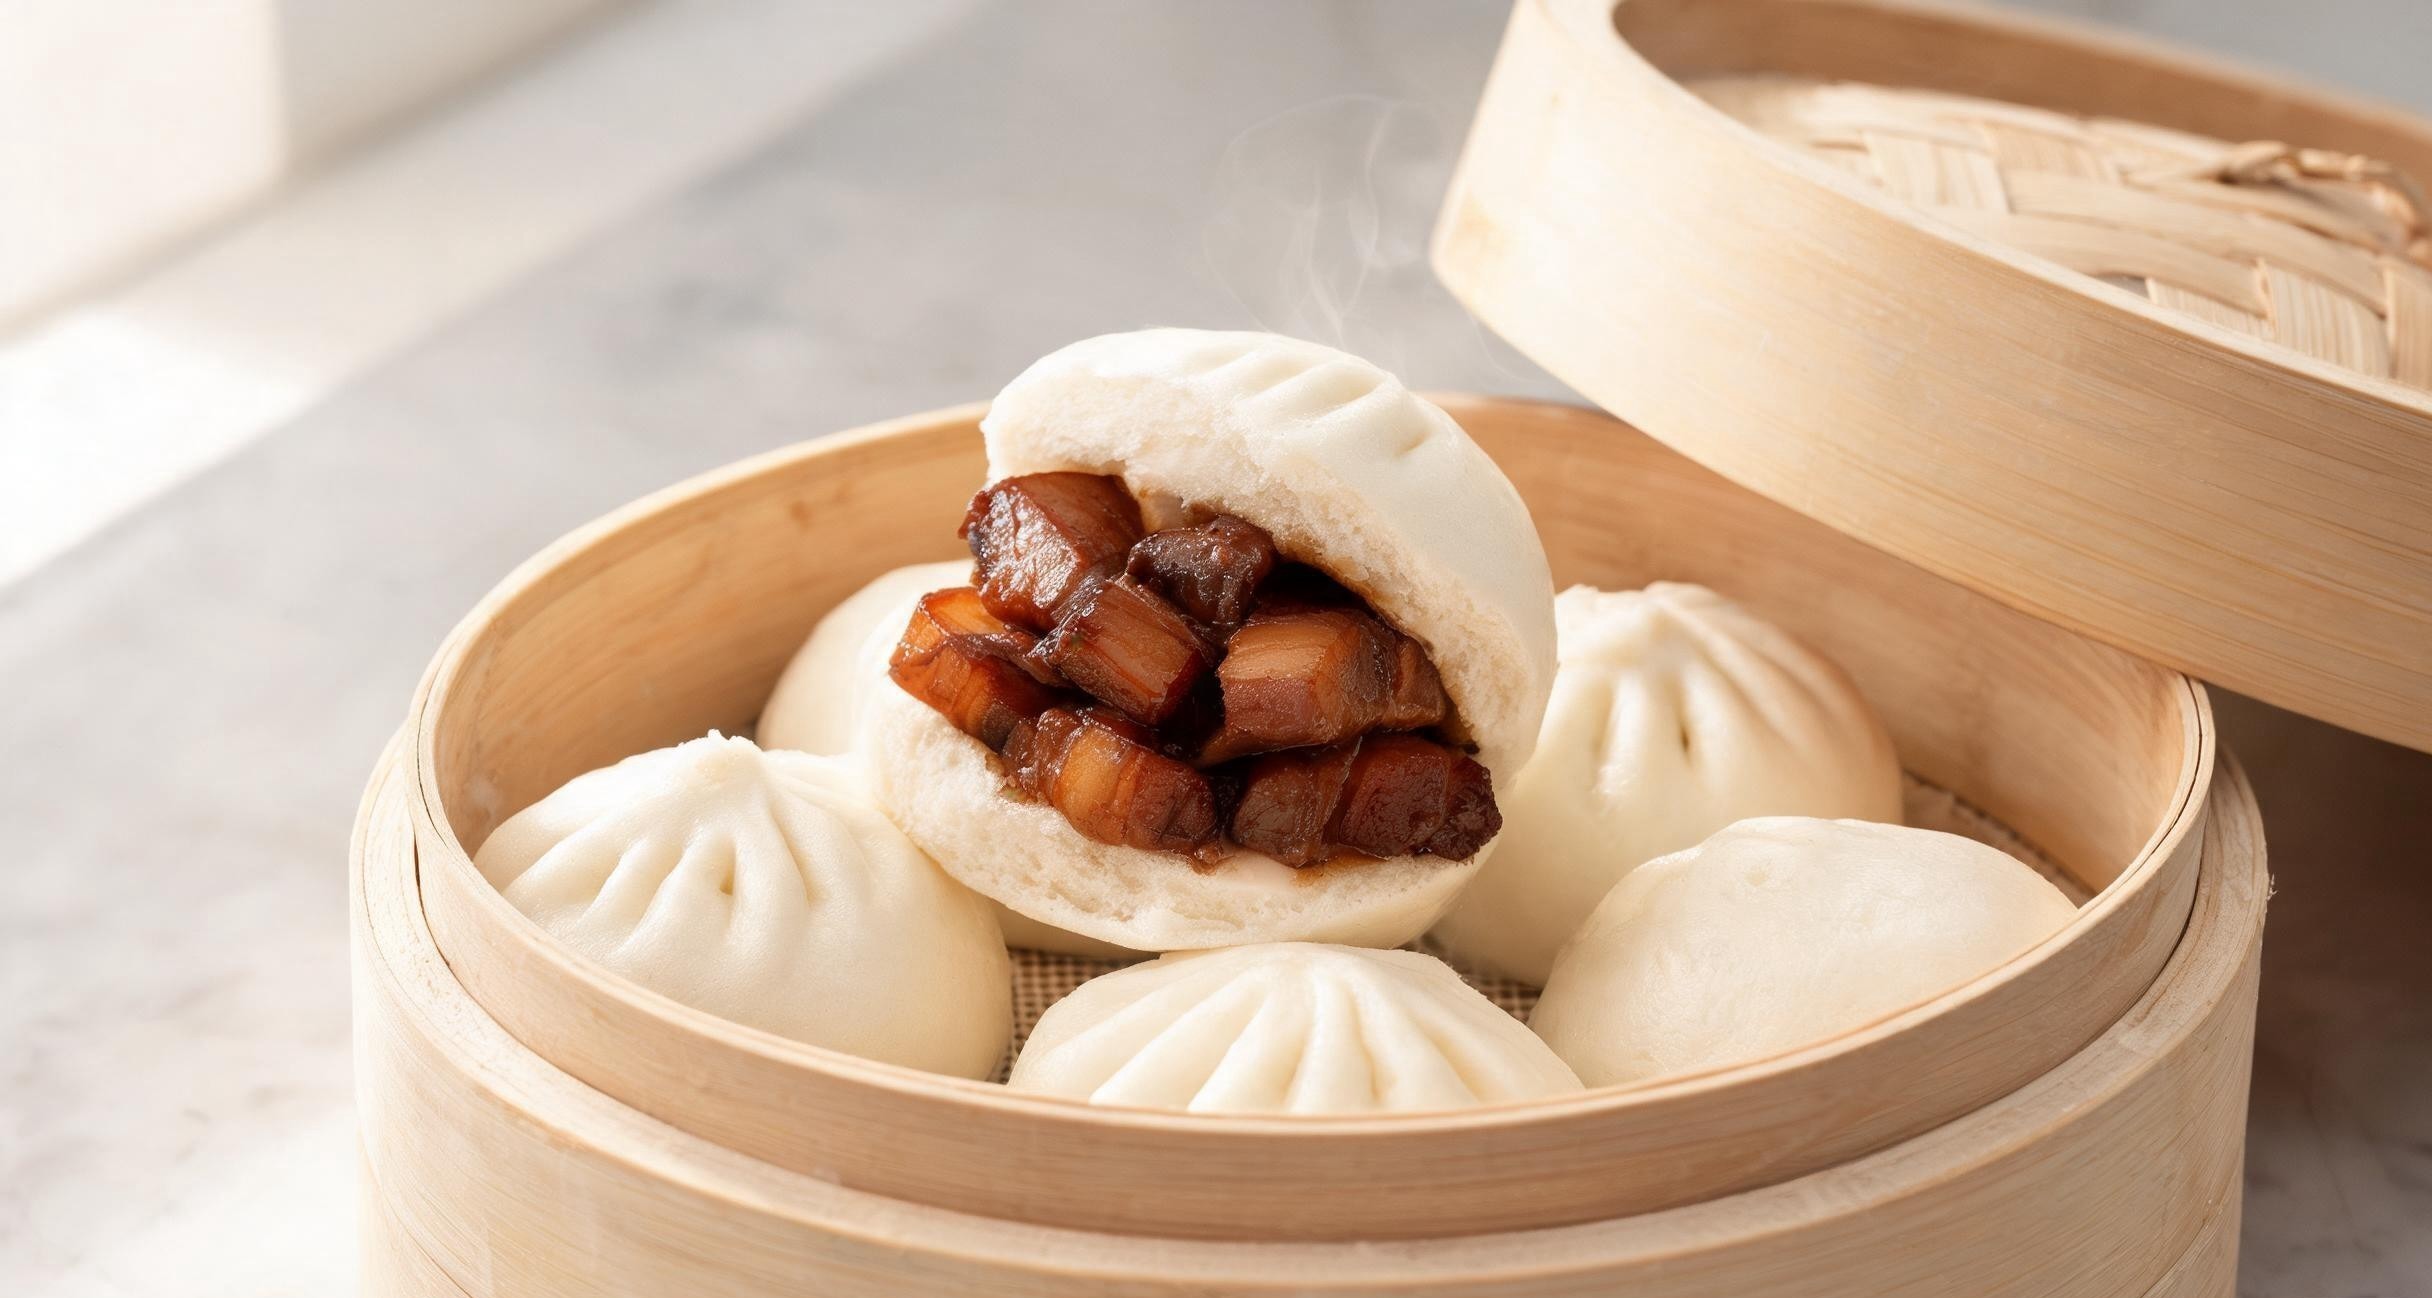
The folding technique is the hardest part to teach with words, and I struggled with it for weeks. The best advice I can give is to hold the disc of dough in your non-dominant hand, place the filling in the center with a spoon, and use your dominant hand to gather the edges and twist. The first few will look lopsided and ugly. Keep going. By the sixth or seventh bun, your fingers will start to understand the motion and the buns will look more uniform. My grandmother told me she made a thousand buns before she stopped thinking about the folding. I believe her. I am probably at three hundred now and I still have to concentrate.