
I did not set out to make croissants at home. The idea seemed absurd, like trying to build a grandfather clock in your garage. But then I watched a video of a French baker making it look effortless and something in my brain broke. I bought a pound of European butter, cleared my weekend, and spent the next three days covered in flour. The first batch was terrible, with butter leaking out of the sides and a texture closer to a dinner roll than a croissant. The second batch was better. The third was good enough to photograph. The fourth, made a month later, was the kind of croissant I would have been happy to find at any bakery in Paris. It took that long, and I want to be honest about that because every recipe I read promised results in one afternoon.
Lamination is the process that creates those flaky, honeycombed layers, and it is entirely dependent on temperature management. The dough and the butter must be the same temperature when you begin: cold but pliable, around 55 to 60 degrees. If the butter is too cold, it will shatter when you roll it and you will get uneven layers. If it is too warm, it will melt into the dough and the layers will fuse together, which defeats the entire point. I pound my butter between two sheets of parchment with a rolling pin until it forms a flat square about half an inch thick, then refrigerate it while I make the dough.
The dough itself is straightforward: flour, water, milk, sugar, salt, yeast, and a small amount of butter. Mix it until it comes together, knead briefly until smooth, and then wrap it in plastic and refrigerate it for at least an hour. The cold rest relaxes the gluten so the dough will roll out without springing back, and it also brings the dough temperature down to match the butter. Once both the dough and the butter are the same temperature, you enclose the butter inside the dough like a letter in an envelope, and then you begin the rolling and folding. This is called a turn, and you will do three of them, with a 30-minute rest in the fridge between each. The turns build the layers, and each subsequent turn doubles the number of layers you started with.
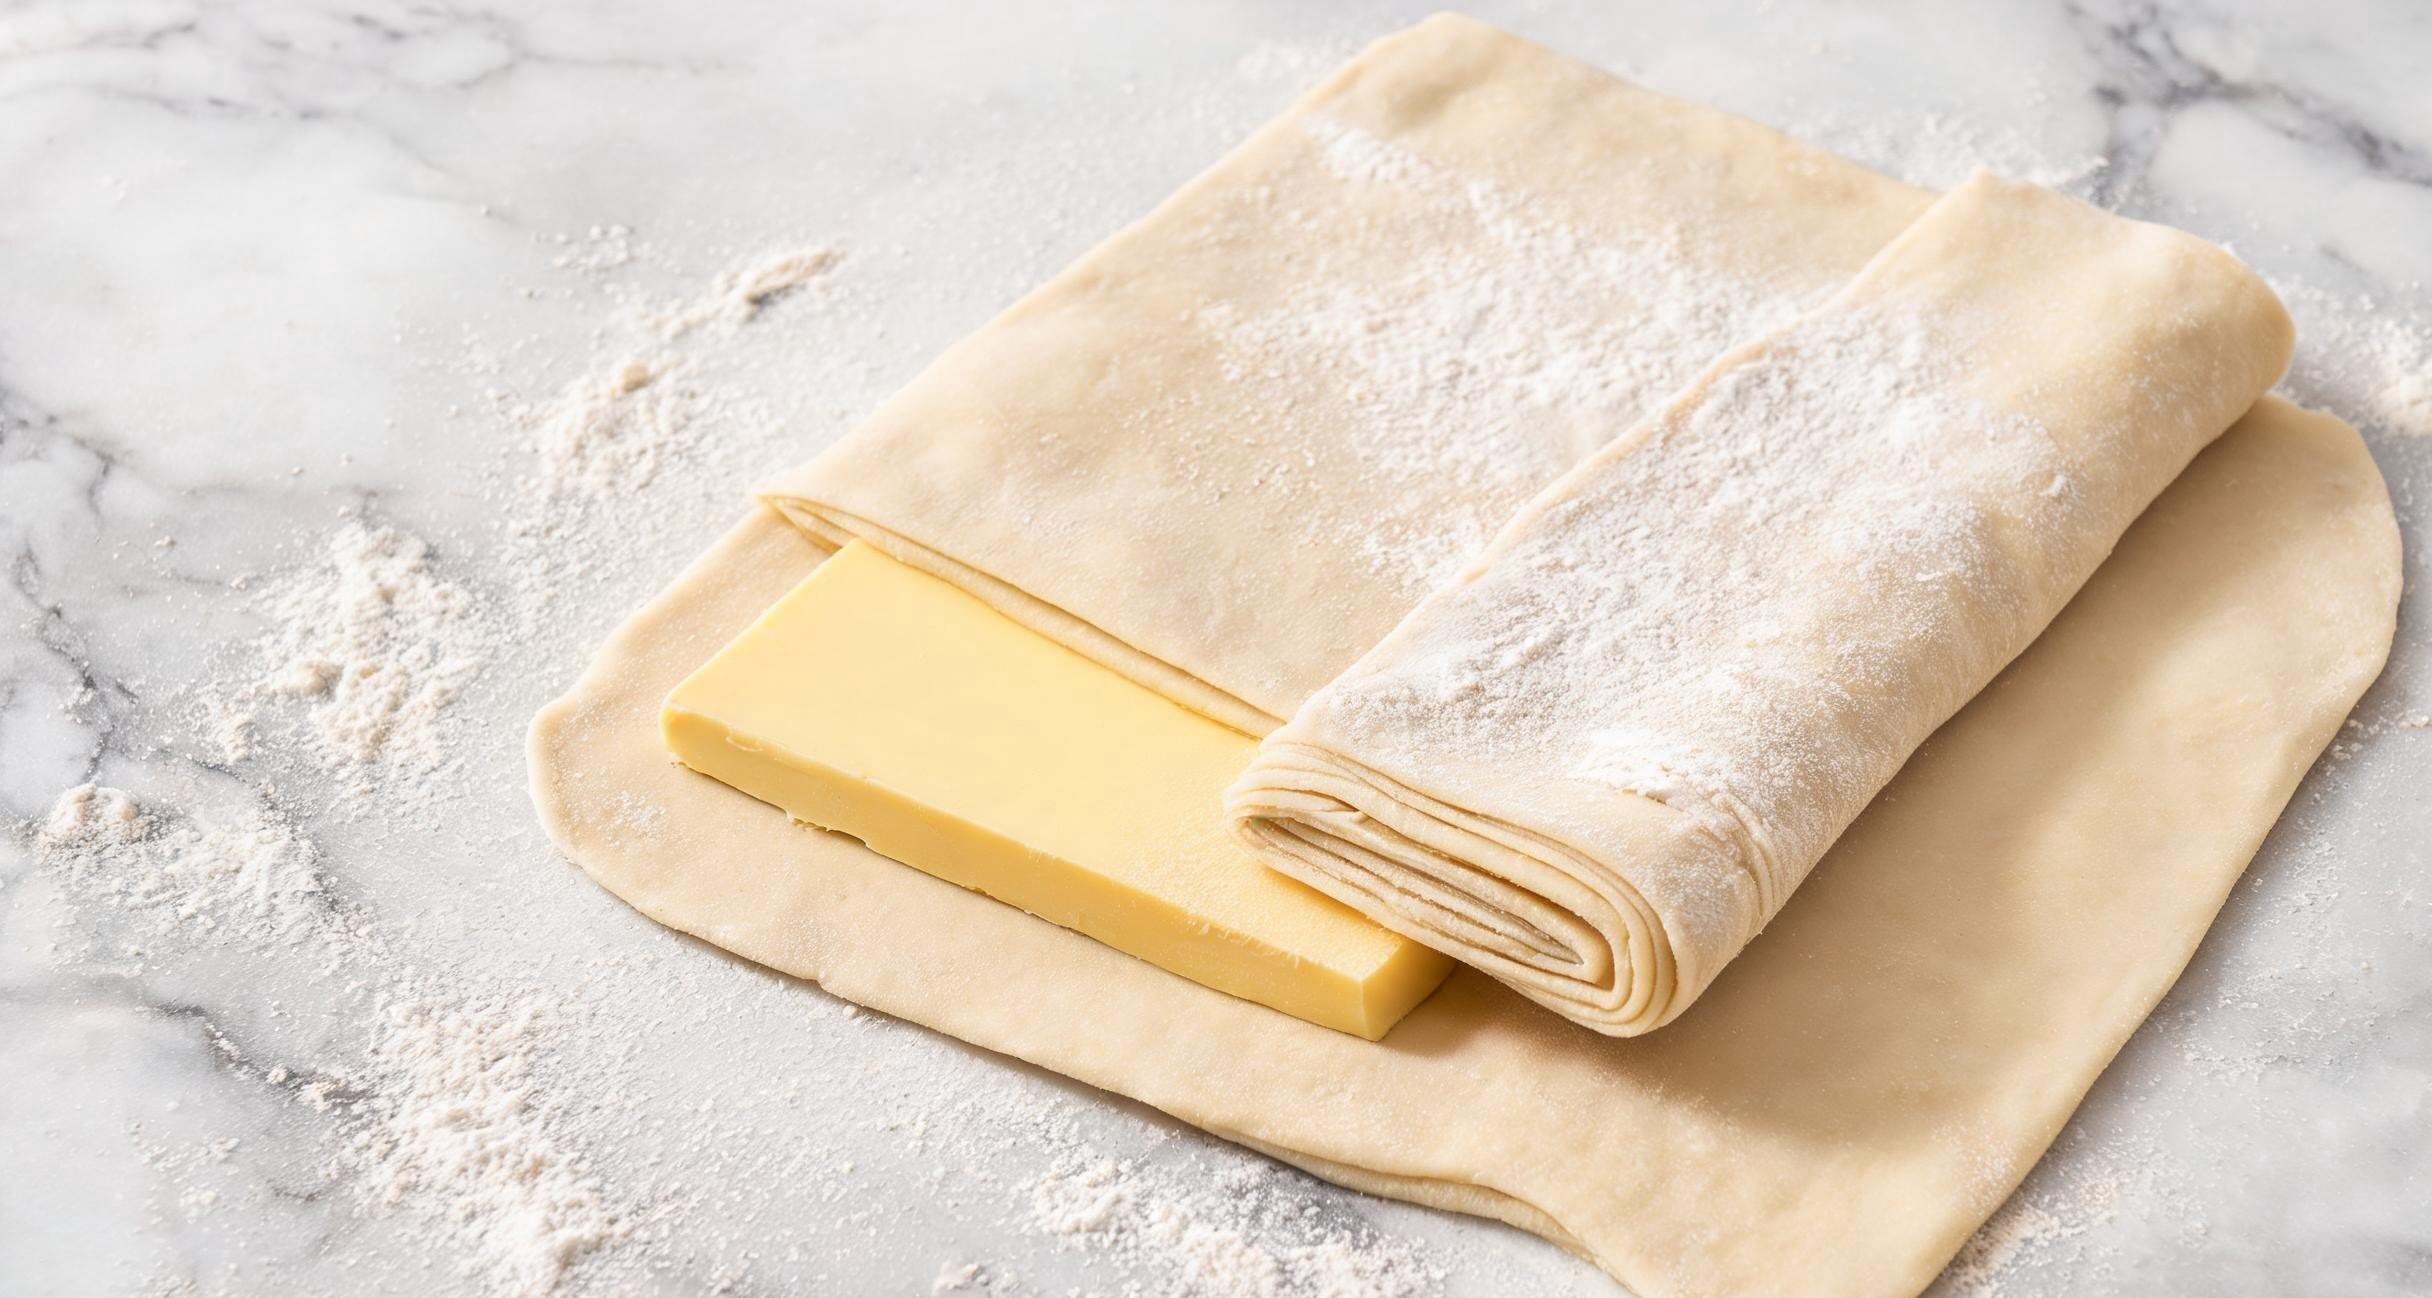
Each turn consists of rolling the dough out into a long rectangle, folding the top third down and the bottom third up, like a business letter, then turning the dough 90 degrees and rolling it out again. The goal is to create alternating layers of dough and butter without the two mixing. Every roll must be firm but not aggressive. If you press too hard, you will squeeze the butter out of the sides. If you roll too softly, the layers will not be thin enough. The first two turns are the hardest. By the third, the dough starts to behave, and you can see the lamination taking shape in the cross-section. Thin, distinct layers of butter and dough stacked on top of each other.
After the final turn, the dough rests in the fridge overnight. This is not just for convenience. The slow, cold rest allows the gluten to fully relax and the butter to firm up again so you can cut and shape the croissants the next morning. When you roll the dough out the next day, use a ruler and a pizza cutter to cut tall triangles, about 4 inches wide at the base and 8 inches tall. Make a small notch at the wide end, stretch the triangle slightly, and roll it up from the base to the tip, curving it slightly into the classic crescent shape. Place the croissants on a parchment-lined sheet pan, cover loosely with plastic, and let them proof at room temperature until they look visibly puffy and jiggle when you shake the pan. This takes about two hours in a warm kitchen.

Brush the proofed croissants with an egg wash, one egg beaten with a tablespoon of cream, and bake at 400 degrees for about 18 to 20 minutes. Rotate the pan halfway through. The croissants are done when they are deeply golden on top and the layers on the sides have separated and puffed up dramatically. Let them cool on a wire rack for about ten minutes before eating. The exterior should shatter when you bite into it, sending flakes everywhere, and the interior should be soft and slightly pull-apart. That shatter is the proof that your lamination worked. It is also the reason I now have flour in places I did not know flour could reach. Worth it.
The butter block is where most home attempts go wrong. The butter needs to be cold but pliable, about the consistency of modeling clay. If it is too cold, it shatters when you roll and creates uneven layers. If it is too warm, it melts into the dough and you lose the lamination entirely. I test the butter by pressing it with my finger. If it holds the indentation without cracking, it is ready. The first turn is always the most stressful because the dough is stiff and the butter has not yet conformto the temperature of the flour. By the second turn, everything cooperates.